
So, you have a groundbreaking app idea. You’ve sketched the user interface, planned the features, and are ready to bring your vision to life for millions of iPhone, iPad, and Mac users. There’s just one crucial step standing between your concept and the App Store: joining the Apple Developer Program. This program is your official entry pass into Apple’s vibrant ecosystem.
Enrolling might seem like a complex process, but it’s a straightforward path when you know the steps. This guide will walk you through everything you need to know, from understanding the program’s benefits to navigating the sign-up process. We will cover the prerequisites, the differences between account types, and how to handle common challenges. By the end, you’ll have the knowledge and confidence to purchase your Apple Developer Account and start your development journey.
What is the Apple Developer Program?
The Apple Developer Program is a membership service that provides individuals and organizations with the resources needed to create and distribute applications across all Apple platforms. This includes iOS, iPadOS, macOS, watchOS, and tvOS. Think of it as your all-access pass to Apple’s world of software development.
Unlocking the Benefits of Membership
Joining the program is more than just a requirement for publishing on the App Store. It provides a suite of powerful tools and benefits designed to support you throughout the entire development lifecycle.
- App Distribution: The primary benefit is the ability to publish your apps on the App Store, reaching a global audience of hundreds of millions. You can also distribute custom apps to specific businesses through Apple Business Manager or to your employees.
- Access to Beta Software: Members get early access to pre-release versions of iOS, macOS, and other Apple operating systems. This allows you to test your apps on upcoming software updates, ensuring they are compatible and optimized on launch day.
- Advanced App Capabilities: Your membership unlocks a wide range of powerful APIs and services. You can integrate features like Apple Pay, iCloud, Game Center, HealthKit, and push notifications to create richer, more engaging user experiences.
- Testing and Analytics Tools: The program includes TestFlight, an invaluable tool for distributing beta versions of your app to testers before a public release. You also gain access to App Store Connect, which provides detailed sales data, download metrics, and user analytics to help you understand your app’s performance.
- Technical Support: When you hit a roadblock, your membership includes two technical support incidents per year. This allows you to get one-on-one code-level support from Apple engineers to help resolve bugs or implementation issues.
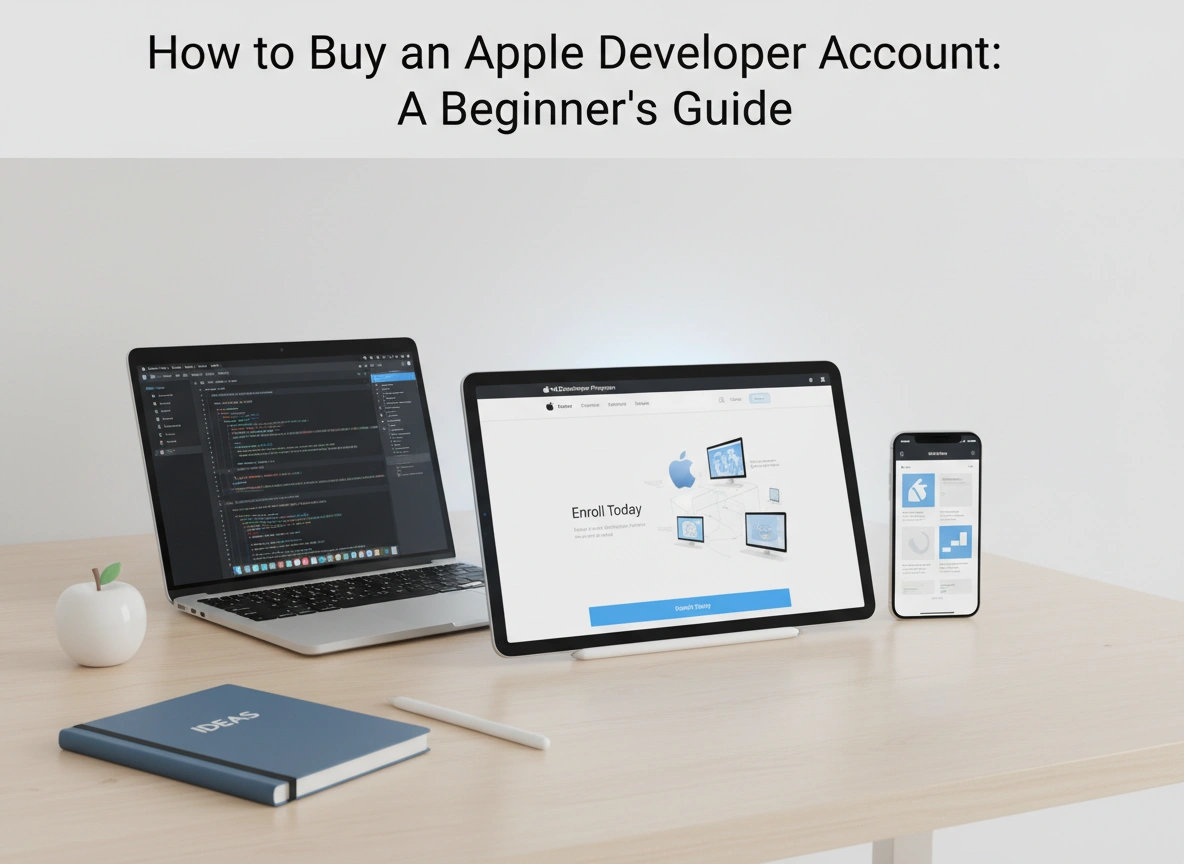
How to Buy Your Apple Developer Account: A Step-by-Step Guide
Purchasing your developer account is a multi-step process that involves verifying your identity and paying the annual fee. Follow these steps carefully to ensure a smooth enrollment.
Step 1: Meet the Prerequisites
Before you begin the enrollment process, you need a few things in place.
- An Apple ID: This is the account you use for all things Apple, like iCloud and the App Store. You must have two-factor authentication (2FA) enabled for your Apple ID. If you don’t have 2FA turned on, Apple will prompt you to do so during the sign-up process.
- A Compatible Device: You’ll need an iPhone, iPad, or Mac to complete the enrollment through the Apple Developer app.
- Personal Information: Be prepared to provide your full legal name, address, and phone number. This information must match your official government-issued photo ID.
- Payment Method: Have a valid credit card or other accepted payment method ready to pay the annual membership fee, which is $99 USD (or the equivalent in your local currency).
Step 2: Download the Apple Developer App
The official way to enroll is through the Apple Developer app. You can no longer enroll through the website in most regions.
- Open the App Store on your iPhone, iPad, or Mac.
- Search for “Apple Developer.”
- Download and install the official app.
Step 3: Start the Enrollment Process
Once the app is installed, open it and follow these instructions:
- Tap on the “Account” tab at the bottom of the screen.
- Tap the “Sign In” button and enter your Apple ID credentials.
- After signing in, you will see an “Enroll Now” button. Tap it to begin.
The app will display the program’s benefits and requirements. Review them and tap “Continue.”
Step 4: Provide Your Personal Information
Next, you will be prompted to verify your identity. The app will use your device’s camera to scan a government-issued photo ID, such as a driver’s license or passport. Ensure your legal name and other details are entered exactly as they appear on your ID. Any mismatch can cause delays or rejection.
Step 5: Choose Your Account Type
Apple will ask you to select the type of entity you are enrolling as. This is a critical choice that determines how your apps will be listed on the App Store.
- Individual: This is the simplest option, intended for single developers. Your apps will be listed under your personal legal name.
- Organization: This option is for businesses, non-profits, and educational institutions. Apps are listed under the company’s legal name. This process is more involved and requires additional verification.
We will explore the differences in more detail in the next section. For now, select the option that fits your situation.
Step 6: Review and Pay
After submitting your information, you must agree to the Apple Developer Program License Agreement. Read through it carefully. Once you agree, you will be taken to the payment screen.
Enter your payment information to purchase the membership. The annual fee is typically $99 USD. Once the payment is processed, you will receive a confirmation email from Apple. It can take anywhere from a few hours to a couple of days for your membership to be fully activated.
Individual vs. Organization Accounts: Which is Right for You?
Choosing between an individual and an organization account has long-term implications for your business and branding.
Individual Account
This account type is perfect for solo developers, freelancers, or hobbyists.
- Seller Name: Your personal legal name will be displayed as the seller on the App Store.
- Enrollment: The process is fast and simple, requiring only personal identity verification.
- Team Management: You can still invite other developers to your team in App Store Connect, but your name remains the primary account holder.
Choose this option if you are working alone and are comfortable with your name being publicly associated with your apps.
Organization Account
This account is designed for legally recognized entities.
- Seller Name: Your company’s legal name will be displayed as the seller, which presents a more professional brand.
- Enrollment: The process is more rigorous. You will need a D-U-N-S Number, which is a unique nine-digit identifier for businesses. You can request one for free from Dun & Bradstreet during the enrollment process, but it can take several days to receive. You must also have the legal authority to bind your company to agreements.
- Team Management: This account offers more robust team management features, allowing you to create multiple user roles with different permissions.
Choose this option if you are operating as a registered company, have partners, or plan to build a team. It provides better branding and scalability for a growing business.
Common Challenges and FAQs
The enrollment process is usually smooth, but some beginners run into common issues.
- My payment was declined.
Ensure your payment method is valid and has sufficient funds. Also, check that the billing information matches what your bank has on file. Sometimes, banks flag the transaction as suspicious, so you may need to contact them to authorize the payment. - My ID verification failed.
This often happens if the photo is blurry or if the name you entered does not exactly match your ID. Retake the photo in a well-lit area and double-check that every detail you typed is correct. - How long does enrollment take?
For individual accounts, activation is often complete within 48 hours. For organization accounts, it can take longer, sometimes up to a week or more, especially if you need to wait for a D-U-N-S Number. - Can I change my account from Individual to Organization later?
Yes, Apple provides a process to convert an individual account to an organization account. This requires you to have all the necessary business documentation ready. You can initiate this process by contacting Apple Developer Support.
Conclusion: Your Gateway to Innovation
Buy Apple Developer Account is the foundational step for anyone serious about building apps for Apple’s platforms. It is an investment in your tools, your knowledge, and your access to one of the world’s most lucrative digital marketplaces. While the $99 annual fee and verification steps may seem like a hurdle, they grant you access to a powerful ecosystem designed to help you succeed.
By following this guide, you can confidently navigate the enrollment process and unlock the full potential of Apple’s development resources. Once your membership is active, you can start building, testing, and ultimately shipping your app to the world. The journey from idea to App Store launch begins here.